.png)
 6 days ago
24
6 days ago
24
Unlike Stratagems, Boosters ask you to think about the whole squad instead of just yourself. You only get four slots between everyone, so every choice comes with an opportunity cost: bring one Booster, and you’re automatically leaving another behind.
Of course, this is still Helldivers 2, where “optimal” and “fun” don’t always mean the same thing. If you enjoy dropping into battle surrounded by fire or deliberately picking niche options just to shake things up, don’t let us stop you. With that in mind, here’s how we’d rank every Booster currently available.
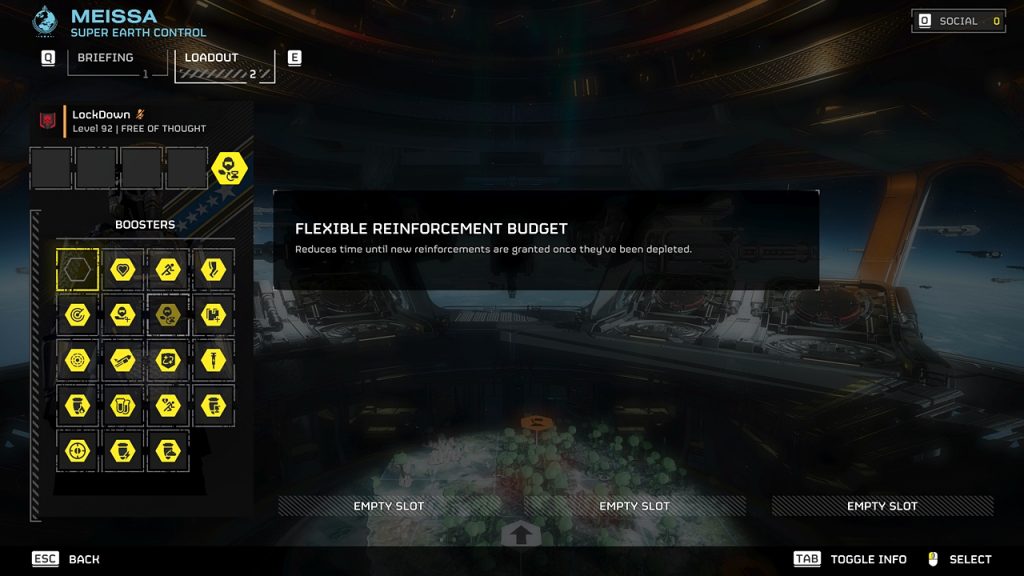
18 Flexible Reinforcement Budget
 Too little, too late. | Image Caption: Arrowhead Game Studios/FandomWire
Flexible Reinforcement Budget only activates after your squad has completely exhausted its shared reinforcement pool. By that point, the mission has usually snowballed into a desperate recovery attempt, and shaving 30 seconds off the cooldown rarely changes the outcome.
The strongest Boosters help prevent those situations altogether. More stamina, extra survivability, or better mobility will passively save far more missions than waiting slightly less time to reinforce after everything has already gone sideways.
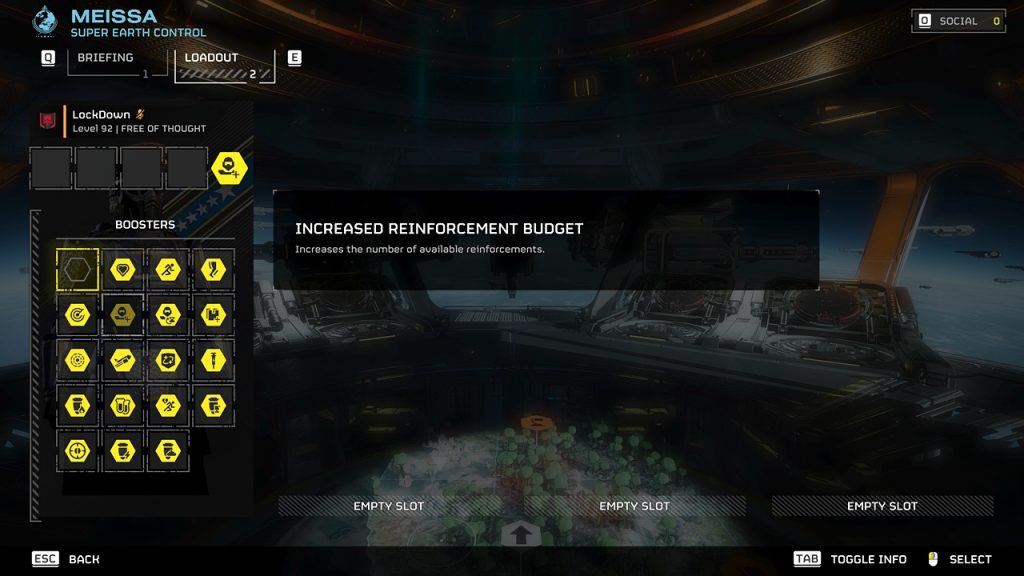
17 Increased Reinforcement Budget
 More chances to fail. | Image Caption: Arrowhead Game Studios/FandomWire
Four extra reinforcements across a full squad sounds does sound generous, but, in practice, until you remember why those reinforcements disappeared in the first place. If your team keeps getting wiped in the same fight, another life rarely fixes the underlying problem.
Extra reinforcements certainly have their place, especially if you’re joining a mission already in progress. For a fresh deployment, though, we’d much rather equip a Booster that helps the whole squad stay alive instead of planning for repeated deaths.
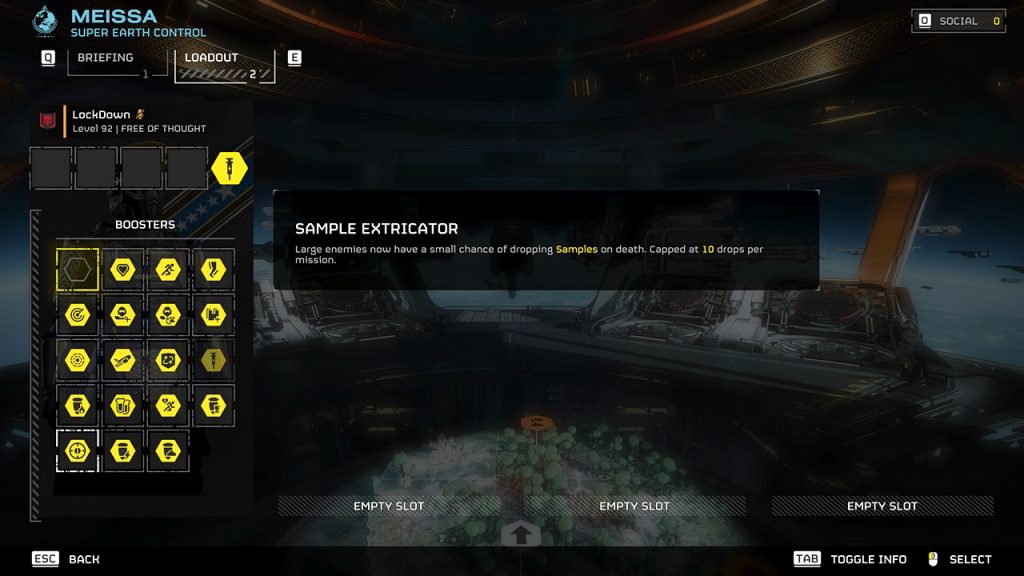
16 Sample Extricator
 Luck isn’t a strategy. | Image Caption: Arrowhead Game Studios/FandomWire
Unlocking Ship Modules takes plenty of Samples, so the idea behind Sample Extricator makes perfect sense. Unfortunately, the Booster depends on RNG, meaning some missions feel rewarding while others barely acknowledge the fact that you have it equipped.
If progression is your priority, the Sample Scanner booster offers far more dependable value over time. Otherwise, surviving the mission and extracting consistently will always beat gambling on a handful of bonus Common Samples.
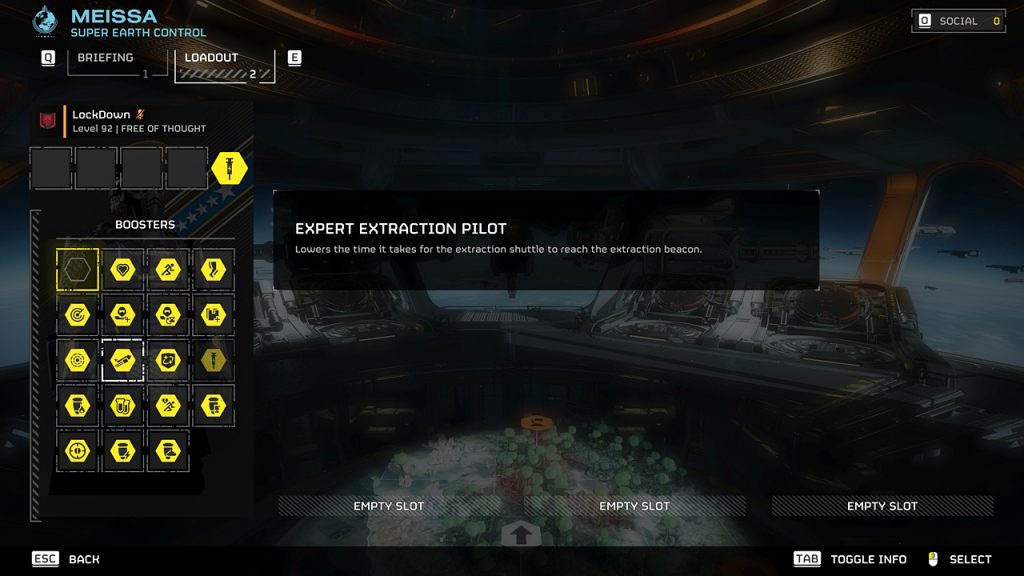
15 Expert Extraction Pilot
 Pelican, slightly earlier. | Image Caption: Arrowhead Game Studios/FandomWire
Nobody enjoys spending two minutes defending the extraction zone, and Expert Extraction Pilot trims that wait a little. The catch is that extraction usually becomes difficult because of enemy pressure, not because Pelican-1 took too long to arrive.
It also encourages rushing the final objective before everyone is ready. If one teammate is still crossing the map with a backpack full of Samples, saving a few seconds on the shuttle timer certainly won’t feel like much of a victory.
14 Motivational Shocks
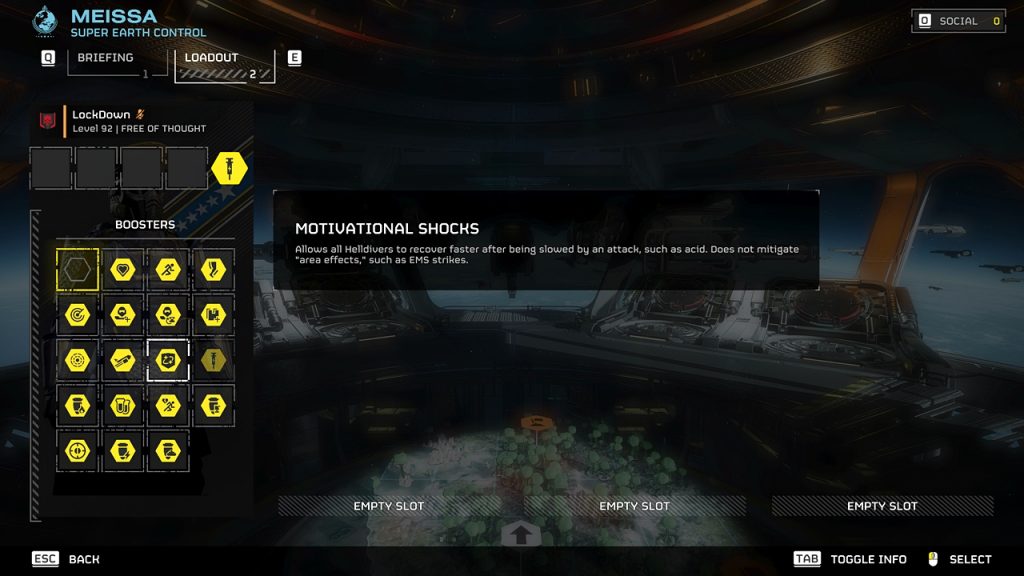 Faster on your feet. | Image Caption: Arrowhead Game Studios/FandomWire
Recovering from slows more quickly is never a bad thing, especially against Terminids that love covering you in acid before closing the distance. Motivational Shocks absolutely works, but its impact tends to come and go depending on the mission and enemy faction.
That’s also why it struggles to compete with Muscle Enhancement. Preventing movement penalties in the first place often proves more valuable than shortening them after they’ve already landed on you.
13 Firebomb Hellpods
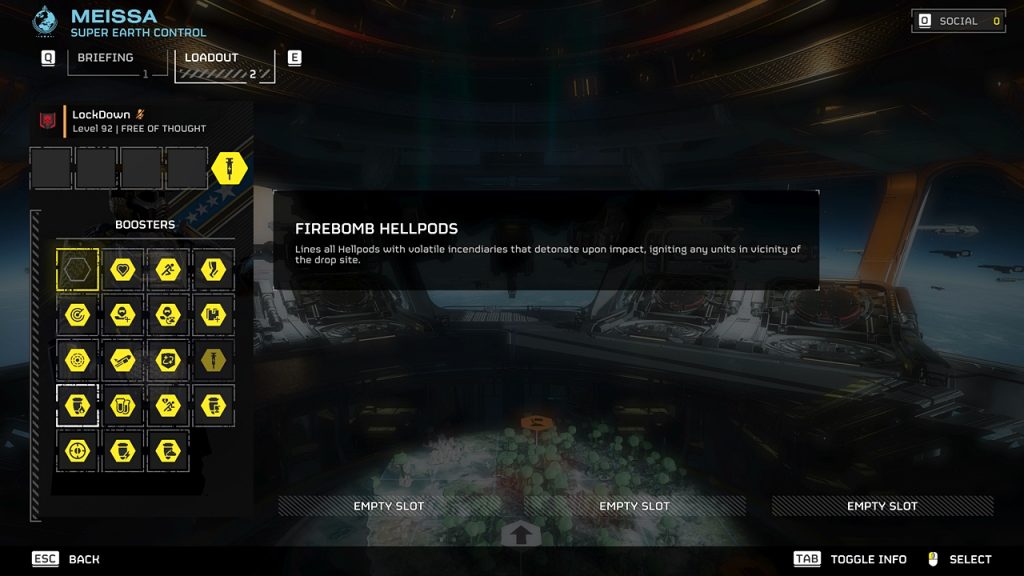 Friendly fire included. | Image Caption: Arrowhead Game Studios/FandomWire
Firebomb Hellpods might be the funniest Booster in the game. Watching a reinforcement land in the middle of a Bug Breach and immediately ignite everything nearby never really gets old, especially when it actually works as intended.
The problem is that your squad has to live with those flames too. More often than not, they block your own equipment, force everyone to hesitate before grabbing supplies, or roast an unlucky teammate who forgot exactly which Booster was equipped. It’s spectacular, but we’d rarely call it reliable.
12 Armed Resupply Pods
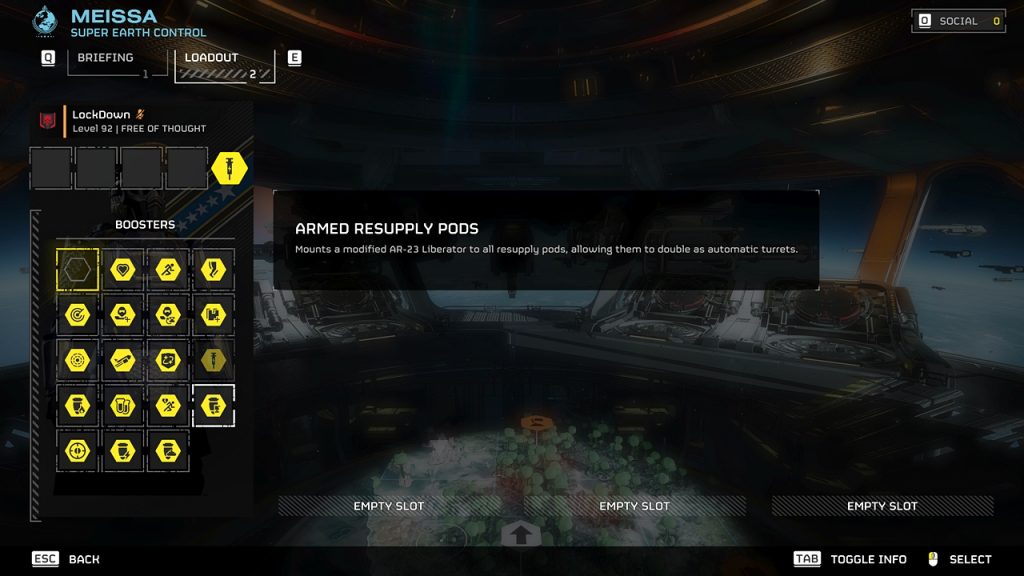 Better than defenseless. | Image Caption: Arrowhead Game Studios/FandomWire
Armed Resupply Pods won’t rack up a huge kill count, but they’re surprisingly good at picking off smaller enemies while your squad is busy dealing with bigger threats. In other words, it’s the kind of Booster you don’t always notice until a scavenger or trooper disappears before reaching you.
That said, you’re still picking it over Boosters that provide constant value throughout an entire mission. The extra firepower is nice to have, but it’s rarely the reason a difficult operation succeeds or fails.
11 Stun Pods
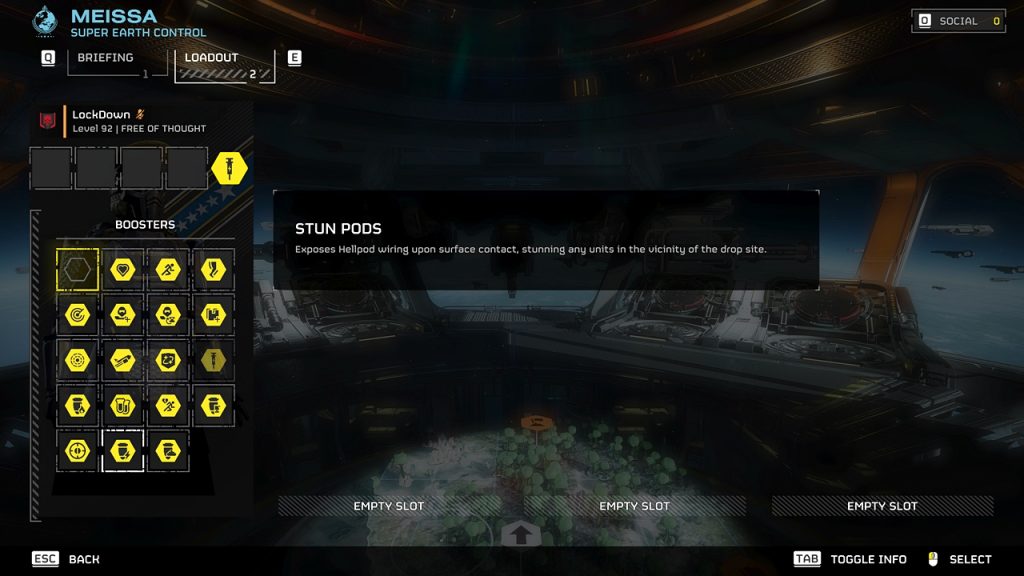 A safer landing zone. | Image Caption: Arrowhead Game Studios/FandomWire
Stun Pods solve a problem every Helldiver has run into at least once: calling in a reinforcement only for the returning teammate to land in the middle of absolute chaos. The stun pulse creates just enough breathing room to grab your bearings instead of immediately diving for your life.
It’s also useful for Resupplies and support weapons, giving you a small window to reclaim your gear without fighting through a crowd first. The effect isn’t game changing, but it does earn its place and rarely feels like a wasted slot.
10 Dead Sprint
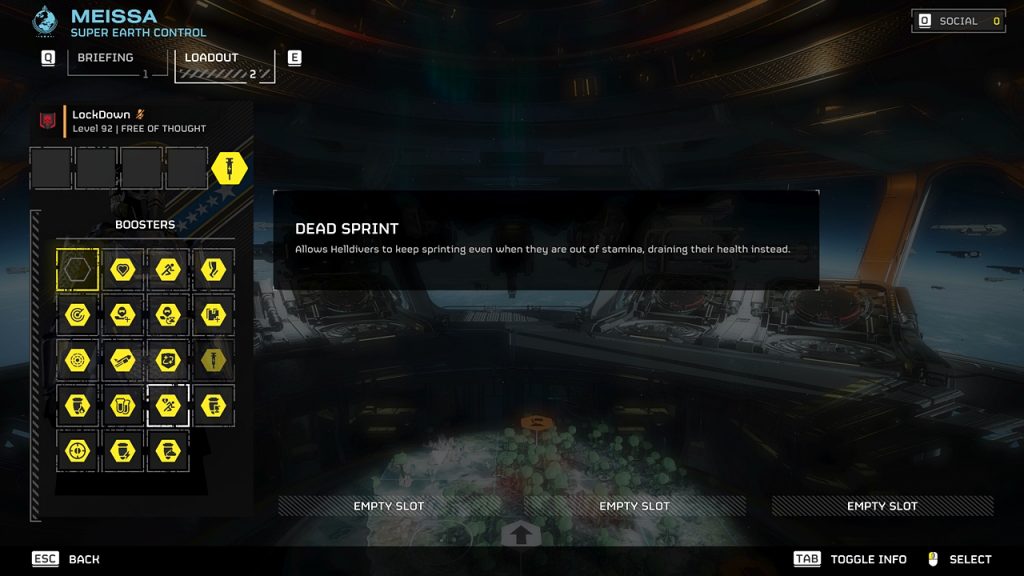 Every meter counts. | Image Caption: Arrowhead Game Studios/FandomWire
Running out of stamina is usually the moment a Hunter catches you, a Berserker closes the gap, or an extraction starts looking a lot less certain. Dead Sprint lets you keep moving by draining health instead, buying just enough distance to reach cover, your squad, or a waiting Pelican.
You do need to manage it carefully. Mindlessly holding the sprint button will leave you vulnerable, but experienced Helldivers already keep a close eye on their Stim count. Used well, trading a little health for a second chance is often a bargain you’d happily take.
9 Concealed Insertion
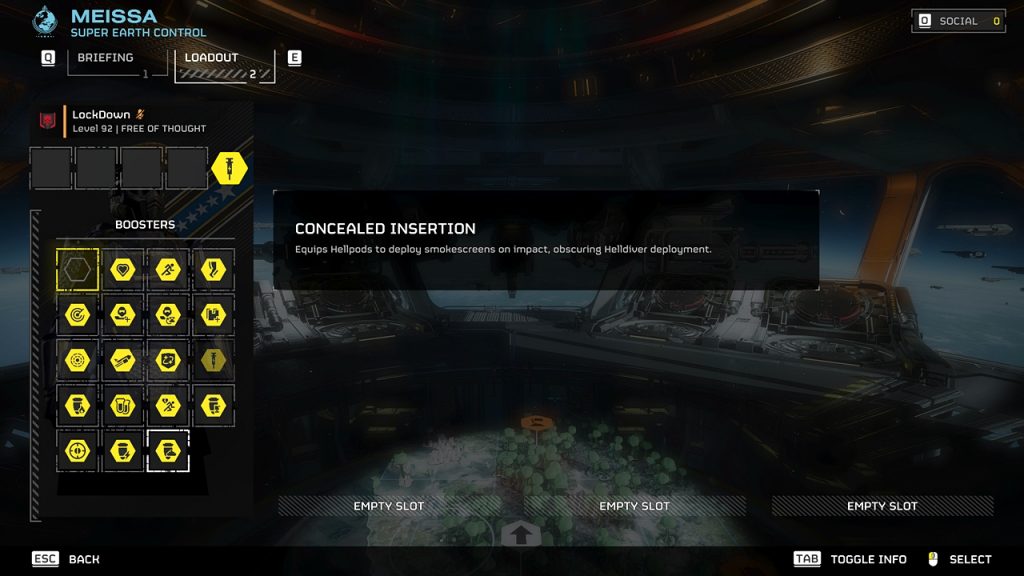 Smoke screen on demand (pretty much). | Image Caption: Arrowhead Game Studios/FandomWire
Concealed Insertion gives every Hellpod a smoke screen on impact. Reinforcements, Resupplies, support weapons, even sentries all create instant visual cover, making it much safer to recover equipment or stabilize a fight that’s starting to slip away.
It’s still a situational pick because not every mission calls for that kind of utility, and the smoke can briefly block your own sentries from returning fire. Even so, this is one of the more creative Boosters Arrowhead has added, and, in the right hands, smoke can solve problems that raw damage never will.
8 Sample Scanner
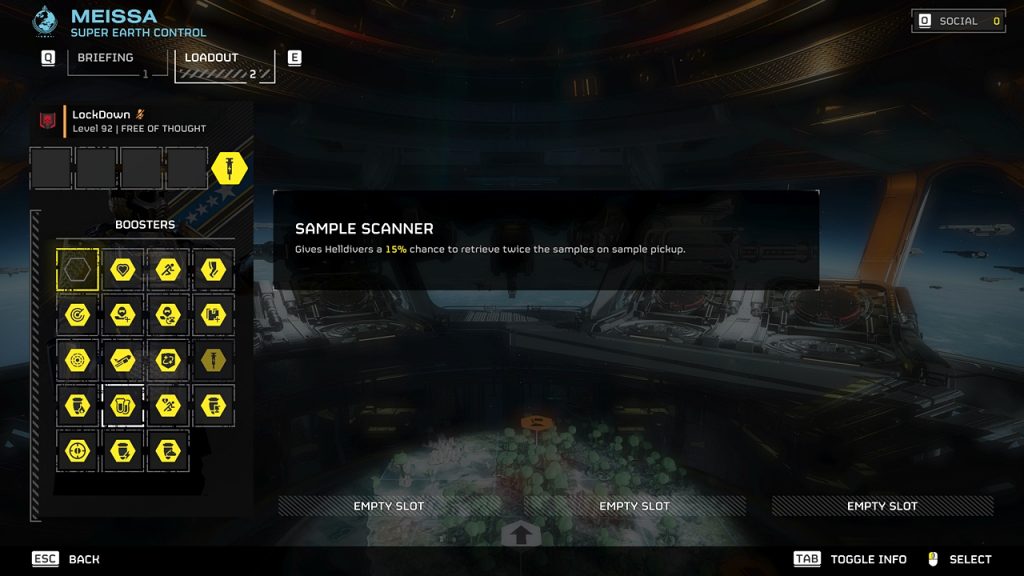 Every Sample counts! | Image Caption: Arrowhead Game Studios/FandomWire
Sample Scanner is one of those Boosters that won’t noticeably improve your performance in combat during a mission, but you’ll definitely appreciate it by the end of the mission. It increases the chance for eliminated enemies to drop Samples, making the long grind toward Ship Module upgrades just a little less painful.
Naturally, its value drops once you’ve unlocked everything Super Earth has to offer. Until then, though, almost every squad can benefit from walking away with a few extra Samples. Progression might not win firefights, but it certainly makes the next one easier, which is why we couldn’t help but rank it this high.
7 Localization Confusion
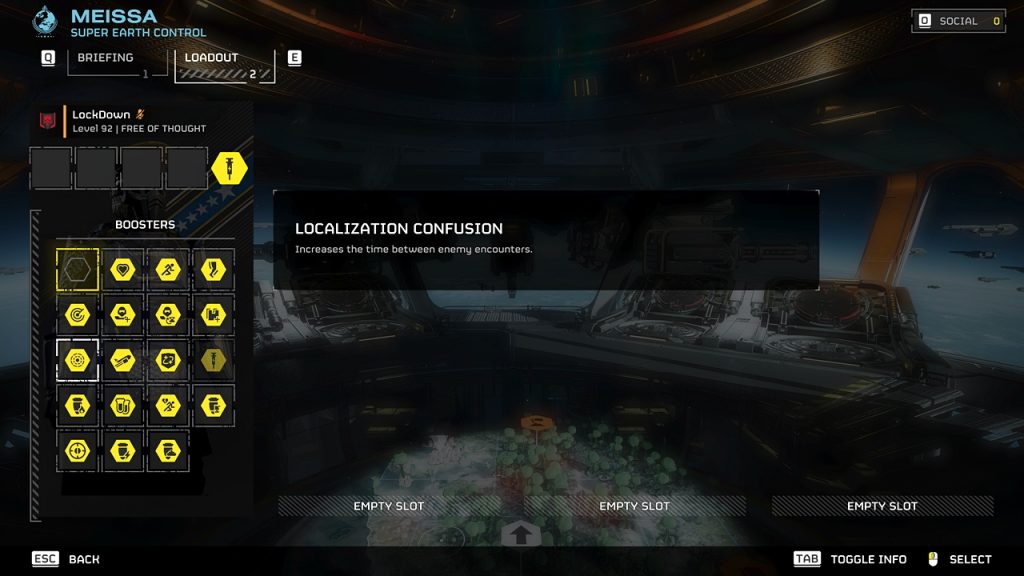 Fewer reinforcements, fewer headaches. | Image Caption: Arrowhead Game Studios/FandomWire
Some Boosters reward good mechanics, but Localization Confusion simply gives you more breathing room. By increasing the time between enemy reinforcement calls, it quietly reduces the number of Bug Breaches and Bot Drops (and Squid Warp Ships) you’ll have to deal with throughout a mission.
You’ll barely notice it working until you play without it, especially in a higher difficulty mission. Fewer reinforcement waves mean fewer enemies to clear, fewer resources spent, and fewer situations spiraling out of control because one patrol happened to spot your squad at the worst possible moment.
6 UAV Recon Booster
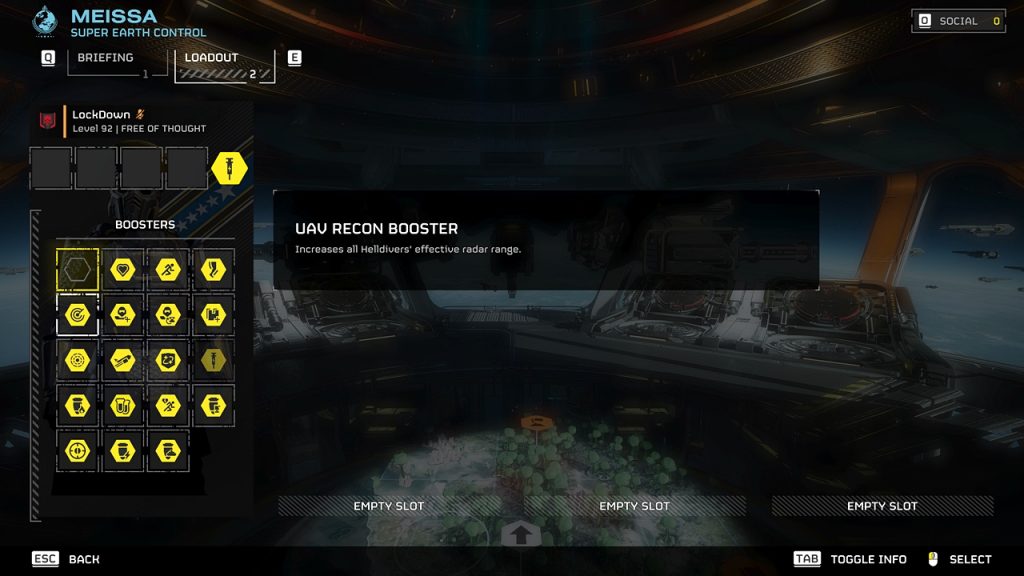 Knowledge is power. | Image Caption: Arrowhead Game Studios/FandomWire
Knowing where democracy’s enemies are before they know where you are is never a bad thing in Helldivers 2. UAV Recon Booster essentially expands your radar range, making patrols easier to avoid and objectives easier to approach without accidentally pulling half the map into the fight.
Its value naturally drops once combat begins, which is why it sits just outside the top tier on our list. Still, if your squad prefers actually completing objectives efficiently instead of shooting at every patrol on sight, this Booster pays for itself over an entire mission.
5 Muscle Enhancement
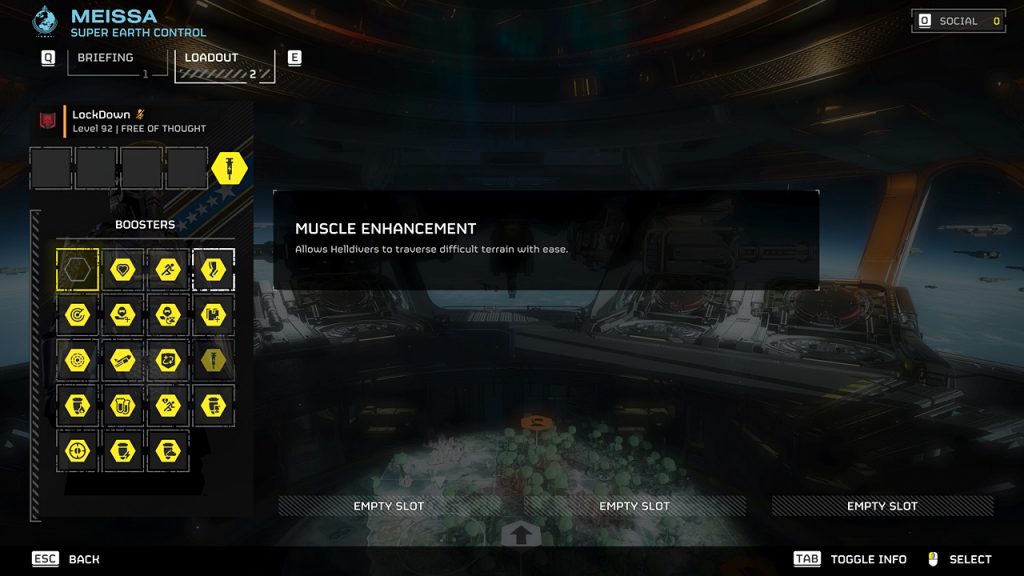 The terrain stops fighting back. | Image Caption: Arrowhead Game Studios/FandomWire
Every veteran eventually learns that the alien planet itself can be just as dangerous as the enemies living on it. Muscle Enhancement lets you move through snow, mud, sand, thick vegetation, and other difficult terrain with far less of a movement penalty, helping your squad stay mobile when it matters most.
That extra mobility also makes slows much less punishing, which is why we’d happily take it over Motivational Shocks in most situations.
4 Stamina Enhancement
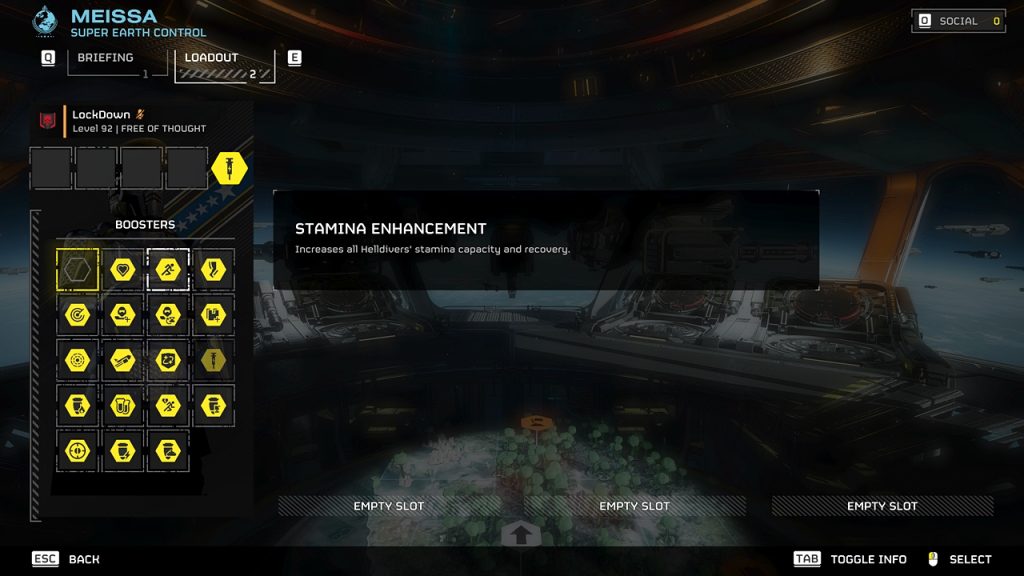 The meta begins here. | Image Caption: Arrowhead Game Studios/FandomWire
We’ve officially reached the four Boosters that many veteran Helldivers simply never unequip. You could argue endlessly about their exact order, but seeing any of them in a squad loadout surprises absolutely nobody.
Stamina Enhancement earns its place because every mission asks you to move. You’ll sprint between objectives, kite Chargers, outrun Hulks, reposition during firefights, and haul Samples back to extraction. More stamina and faster recovery improve all of it, which is why so many squads treat this as their default pick.
3 Vitality Enhancement
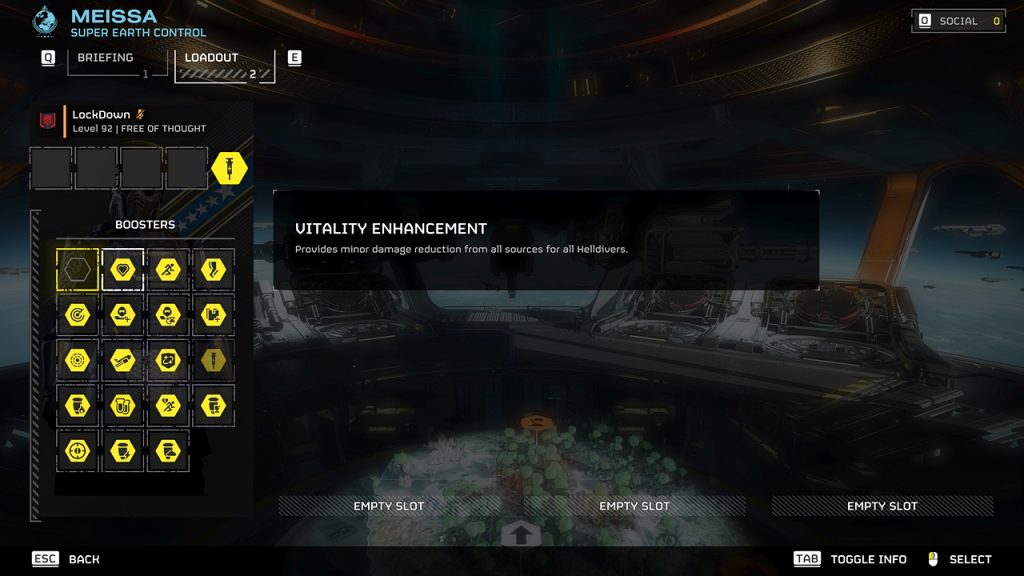 Harder to put down. | Image Caption: Arrowhead Game Studios/FandomWire
If someone joins your lobby with Vitality Enhancement equipped, nobody questions the choice. It’s been one of Helldivers 2‘s defining “meta” Boosters since launch because surviving one more hit often means surviving the mission.
Its value isn’t flashy, but that’s exactly the point. Less injury damage and better overall survivability give you more opportunities to Stim, recover, and stay in the fight. It works against every faction, on every biome, and never asks your squad to play around it.
2 Hellpod Space Optimization
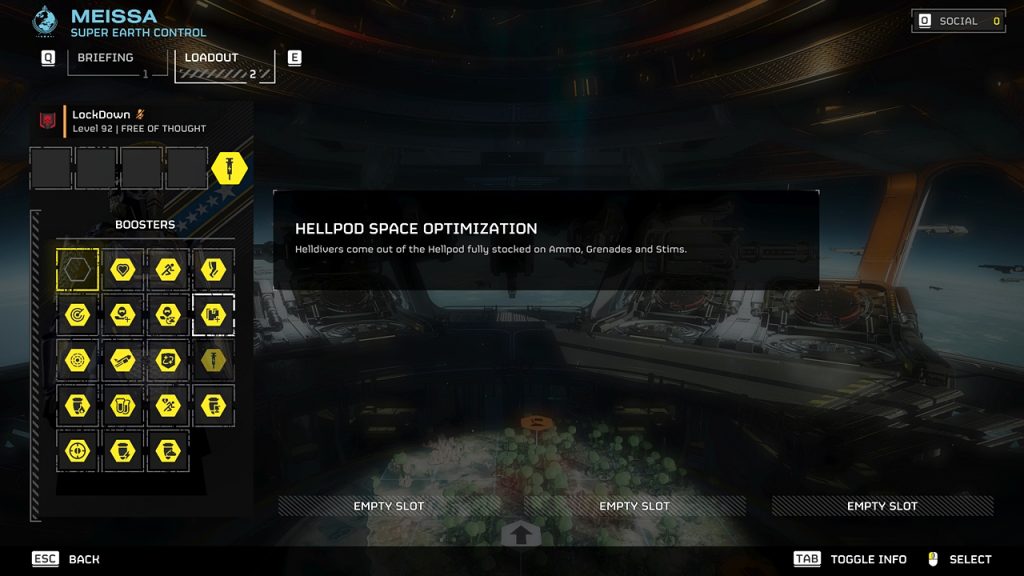 Back in the fight stronger. | Image Caption: Arrowhead Game Studios/FandomWire
Hellpod Space Optimization has earned permanent status in countless loadouts for one simple reason: reinforced Helldivers return fully stocked instead of scrambling to find ammunition, Stims, and grenades before they can contribute again.
That convenience adds up over an entire mission, especially after a rough firefight or squad wipe. It’s one of those Boosters you stop noticing while it’s equipped, then immediately miss the moment someone swaps it out.
1 Experimental Infusion
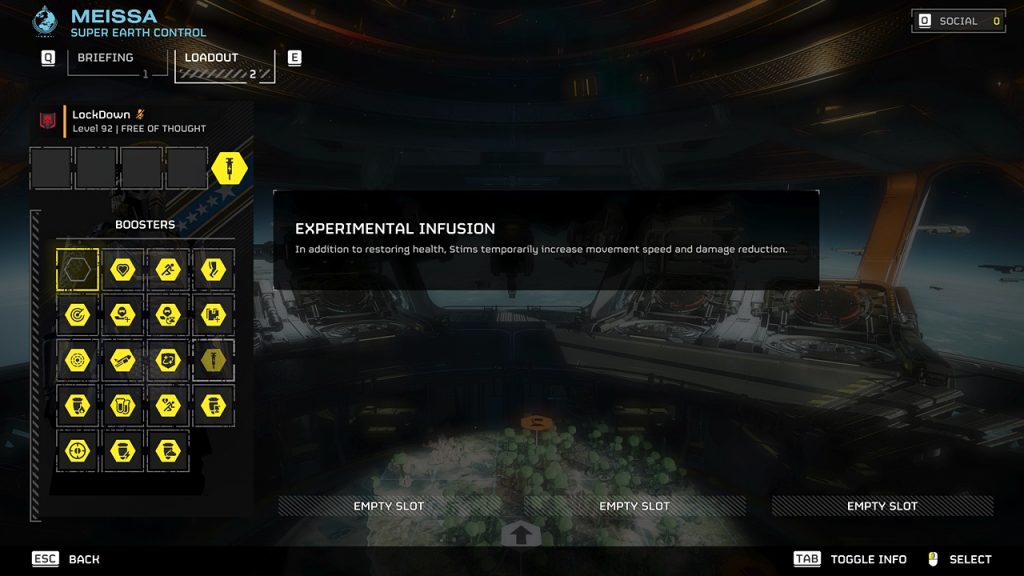 Long live the king. | Image Caption: Arrowhead Game Studios/FandomWire
If there’s one Booster that has defined the Helldivers 2 meta for well over a year, it’s Experimental Infusion from the Viper Commandos warbond. It’s difficult to find an experienced squad that doesn’t have someone bringing it, because turning every Stim into both a heal and a temporary combat buff is simply too good to pass up.
The extra movement speed and damage resistance let you push objectives, reposition under fire, or escape situations that would’ve otherwise ended with a reinforcement call. Since you’re already using Stims throughout every mission anyway, Experimental Infusion extracts more value from an existing mechanic than any other Booster in the game.
Here’s where every Booster in Helldivers 2 lands in our rankings, at a glance:
| S | Experimental Infusion, Hellpod Space Optimization, Vitality Enhancement, Stamina Enhancement |
| A | Muscle Enhancement, UAV Recon Booster, Localization Confusion, Sample Scanner |
| B | Concealed Insertion, Dead Sprint, Stun Pods |
| C | Armed Resupply Pods, Firebomb Hellpods, Motivational Shocks, Expert Extraction Pilot |
| D | Sample Extricator, Increased Reinforcement Budget, Flexible Reinforcement Budget |
Which Booster never leaves your loadout, and which one do you think deserves far more credit than the community gives it? Did we get the order right, or would you shuffle a few rankings around? Let us know in the comments below!






























 Bengali (BD) ·
  English (US) ·