.png)
 1 week ago
8
1 week ago
8
The new Totenreich map for Call of Duty: Black Ops 7 Zombies has arrived as a part of the Season 3 Reloaded update. It’s time to relocate to the Norwegian Fishing Village and hunt down the main quest Easter Egg, continuing the narrative that wrapped up in the Paradox Junction map. However, similar to previous main quest Easter Eggs, the Totenreich one also requires multiple steps to complete.
So, with that said, here’s a detailed step-by-step guide to complete the Call of Duty: Black Ops 7 Zombies Totenreich Easter Egg, and the rewards you can get from it.
Steps to Complete the Call of Duty: Black Ops 7 Zombies Totenreich Main Quest Easter Egg
-

Credits: MrDalekJD via YouTube
-

Credits: MrDalekJD via YouTube
-

Credits: MrDalekJD via YouTube
-

Credits: MrDalekJD via YouTube
-

Credits: MrDalekJD via YouTube


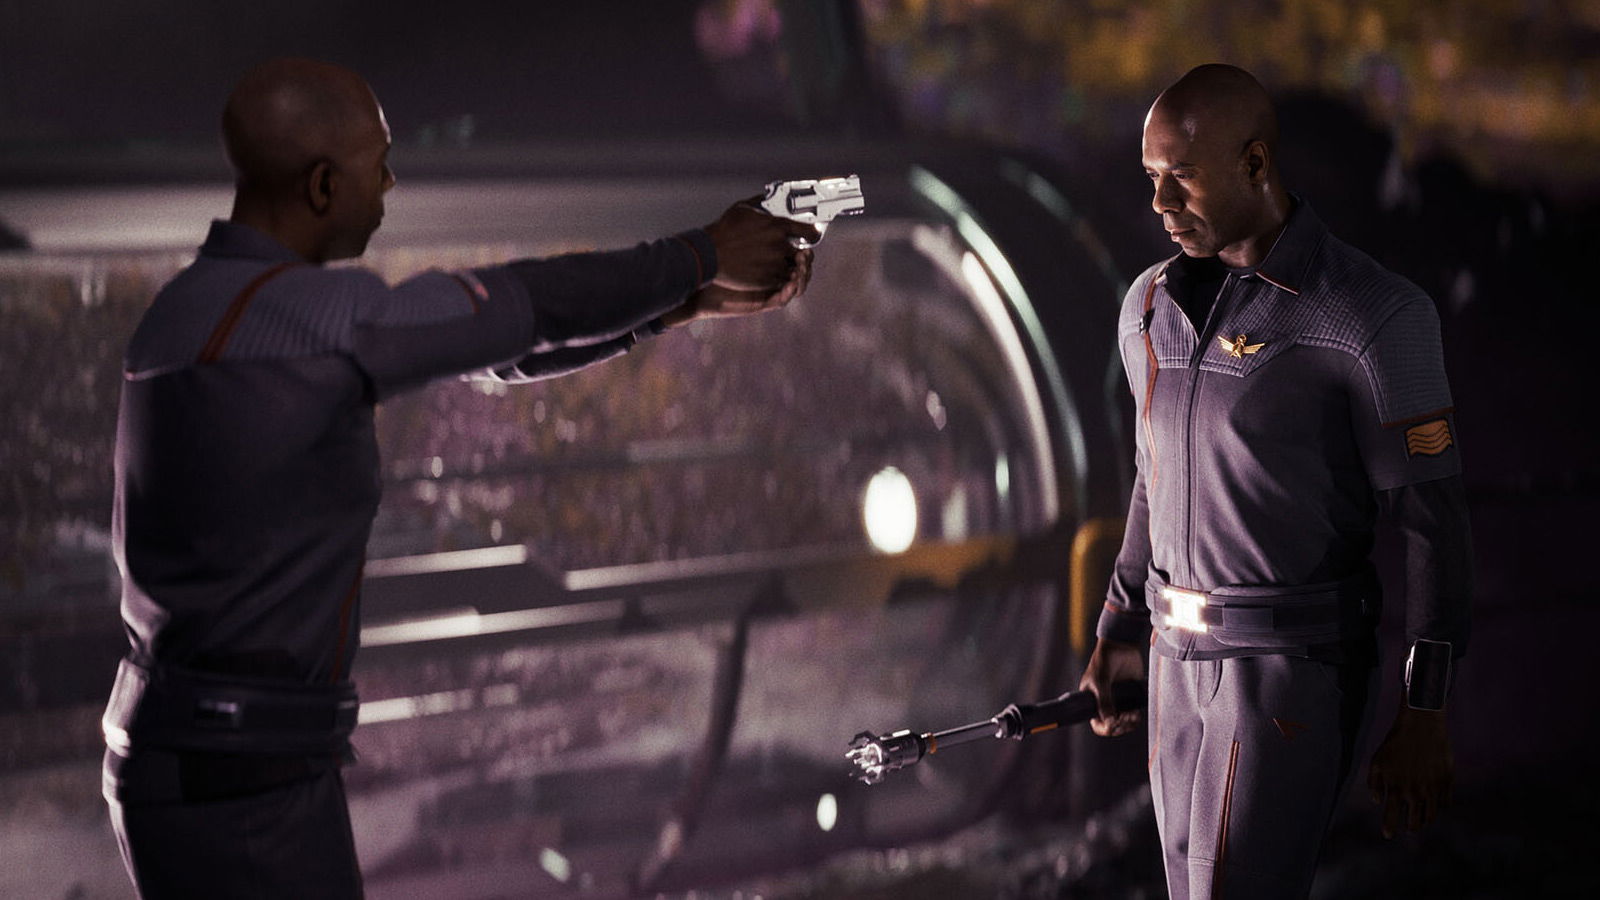
Before you begin to hunt down the Totenreich main quest Easter Egg in Call of Duty: Black Ops 7 Zombies, ensure that you have a good loadout, as you’ll be facing off against hordes of frosty menaces and a massive boss at the end. Let’s begin.
STEP 1: Access a Pack-a-Punch Machine
Before beginning the Totenreich main quest in Call of Duty: Black Ops 7 Zombies, first, you’ll need to explore Fishery Island to access the Pack-a-Punch machine. Follow north of Eidskallen Landing to Eidskallen Square, and unlock the zip line to head to Fishery Island. Then, you’ll need to repair two power lines for the map in the following locations:
- Core Foundry (west side)
- Skallen Market (east side)
After the repair process is complete, move north of Tyr’s Foot and interact with the partially open yellow-lit hatch to enter Tyr’s Head. Interact with the terminal with the words “Modus Offline” to activate Tyr. Follow the waypoint inside the tube to eject outside. After you land, head to the objective marker and pick up the Admin Keycard.
Once you’ve picked it up, make your way over to the War Factory and access the Admin Room by using the Keycard. After you’re inside, clear the hostiles, and grab the Glocke Drop Controller. Follow the waypoint, head to the center of Fishery Island, and interact with the purple zone to initiate Sync. Hostiles will spawn, so take them out and survive 1 minute in this area.
Wait for the Glocke Drop, and once it does, you’ll be able to access the Pack-a-Punch Machine for the Totenreich main quest.
STEP 2: Acquire the Jotunn Star Wonder Weapon
The second part of the Totenreich main quest Easter Egg in Call of Duty: Black Ops 7 Zombies requires you to obtain the Jotunn Star Wonder Weapon. Head to the Drydocks in the southwest island and interact with the Crane button in the room nearby to lower the metal plate and create a wall-jump opportunity.
Use the metal plate to wall-jump and acquire the Chain Link from the ship on the right by pressing the interact button. You position yourself so you can grab the Chain Link since you won’t be able to jump directly onto the ship. Now, head to the Storm Bridge in the northern section of the Totenreich map and grab the Chilli Chunks from behind the truck near the Deadshot Daiquiri Perk Machine.
Make your way to the centre of Skallen Market and place the Chilli Chunks on the table alongside the other Chilli Chunks. From Skallen Market, follow the northeast path and open the door to the Burial Grounds to the right of the Church. Interact with the left handle to open the door and head inside the underground area.
Keep playing until Round 10 to spawn the Zursa Bear and kill it to obtain the Lantern. After you’ve acquired it, return to the underground section by going through the door that you previously unlocked in Burial Grounds. Place the Lantern on the Altar located in the middle of the room to light it up with Constellations and begin the puzzle for the Totenreich main quest.
The Constellations that you’ll need to interact with will be displayed around the four sides of the Altar. Interact with the Constellations on the wall in the following order to progress the Totenreich main quest Easter Egg:
- Left
- Right
- Back
- Front
If you’ve done it incorrectly, reset the puzzle by interacting with the Altar. However, if you’ve successfully solved it, Astrid will appear above the Altar and head to specific points on the map. Follow Astrid’s path, and every time she stops, eliminate purple-eyed frost zombies to make her move again.
Keep doing this until she forms ice blocks, and use them to reach the Lighthouse. Go up the Lighthouse by heading up the stairs, and then complete the Obstacle Course outside the Lighthouse by jumping and wall-jumping when required to reach the top. After you’re at the top, listen to Astrid, and grab the Jotunn Star Wonder Weapon, concluding the second step of the Totenreich main quest Easter Egg in Call of Duty: Black Ops 7 Zombies.
STEP 3: Acquire the Crowbar
Once you get the Jotunn Star Wonder Weapon, return to the Lighthouse’s first floor, and you’ll notice a metal shelf beside a broken window. Grab the Crowbar from the shelf and head outside to find a Wooden Crate located on the map.
STEP 4: Acquire the Flak Gun Round
Once you’ve acquired the Crowbar, return to the War Factory Admin Room, and search the shelf beside the console to find the Cargo Manifest note. This Manifest contains the IDs of the four Wooden Boxes around the map, but the Box that you need to find will have the V-7 ID and the PZGR .39 inside it.
All the Wooden Cargo Boxes have their IDs imprinted in red. These Boxes can be found in the following areas:
- War Factory
- Core Foundry
- Dry Dock
- Fjord Road
Look for the Crate with the V-7 ID (the ID might be unique, so check the Cargo Manifest and open the Box with the PZGR .39 inside it). If you have the right one, you’ll immediately acquire the Flak Gun Round required to progress the Totenreich main quest Easter Egg.
STEP 5: Acquire the Transmitter
Once you’ve obtained the Flak Gun Round, head to the southwest side of the Lighthouse and load up the Flak Gun Round inside the cannon. Interact with it with the Jotunn Star to fire the round at the Robot Head located in the spawn area (Eidskallen Landing).
Head to the spawn point with the zipline and reach the Robot Head. Interact with its base to begin searching, and the Transmitter will appear. Pick it up to begin the next step of the Totenreich main quest Easter Egg in Call of Duty: Black Ops 7 Zombies.
STEP 6: Acquire the Wunderbarrage Controller
Return to Tyr’s Head and replace the Transmitter in the machine atop the ladder. Head down the ladder, and you’ll notice three white lights, with two of them blinking a certain number of times. Track how many times each of the 2 lights blinks and remember it, as you’ll need to input two sets of numbers later on to progress the Totenreich main quest.
For example, if the left light blinks twice, and the right light blinks thrice, you’ll need to input 2 and 3. Now, head to the Core Foundry and use a Molotov to thaw the icy rope at the bottom of the massive tower. Ascend the tower with the rope and use the console in front to input the Amplitude and Frequency numbers that you gathered from the lights blinking.
The left and right lights in Tyr’s Head correspond to the machine’s left and right dials. Set each dial’s frequency according to the number of times the respective light blinked. Once you’re done with the first set, interact with the console and input the second set of numbers that you obtained from the lights blinking. For ease of use, if we use the example earlier, then you need to set Amplitude to 2 and Frequency to 3.
Doing this correctly will give you access to a room to the right of the rope that you thawed under the tower. Head inside and grab the Wunderbarrage Controller from the table, but don’t use it just yet. You’ll need it later for the Totenreich main quest.
STEP 7: Obtain Three Pieces of Uranium
To solve the Atomkraft Core puzzle later on, first, you’ll need to collect 3 pieces of Uranium from various sources. So, here’s everything you need to do:
Uranium 1: First, obtain Olaf’s Cod Cranker from any of the following locations:
- Fishery Island
- Storm Bridge
- Dry Dock
- Beacon Island
There’s one available near the Pack-a-Punch Machine in Fishery Island. Once that’s done, look for a Radioactive glowing green fish in any of the fishing spots on the map in the following locations:
- Dry Dock
- Beacon Island (2 spots)
- Eidskallen Landing (2 spots)
- Eidskallen Square
- Tyr’s Foot
- Fishery Island (2 spots)
Look for red rod holders and jumping fish to locate fishing spots. After you spot the Radioactive fish, set the fishing rod on the rod holder, and once the rod starts glowing blue, interact with it to catch it. Now, an Irradiated Ravager will spawn, but it’ll quickly relocate to a different part of the map, where it’ll spawn a large number of Ravager Zombies.
The location of the Irradiated Ravager will be marked on the map, so head there and kill it to acquire the first Uranium piece needed to progress the Totenreich main quest Easter Egg.
Uranium 2: For the second Uranium piece in Call of Duty: Black Ops 7, acquire a free ARC-XD from Eidskallen Square, located on some boxes, near a burning vehicle, or craft it from one of the crafting tables scattered around the map. Take the zipline from Fishery Island and use it to reach Core Foundry. Look for a wall vent to the left of the zipline and the windows, and attack it to create a path for the ARC-XD.
Enter the vent using the ARC-XD, and head down the staircase, then use the boost to reach the boat in front, leading you inside the 935 Genetic Lab. Detonate the ARC-XD near the red and white drums to create an opening and head to Fishery Island with the zipline. The entrance to the Genetic Lab will be near a Pack-a-Punch Machine.
After you’re inside, look at the hallway with the green light on the left, past the cells, and you’ll notice doors marked from 1-5. Some of these numbers will have Nuclear Symbols beneath them, so note down which numbers have them. There’ll be multiple jars located inside the Genetic Lab, labeled from A-E. The numbers will correspond to the letters, so A=1, B=2, and so on, till E=5.
To solve this puzzle, you’ll need the two letters that match the two door numbers with the Nuclear Symbols beneath them. So, if numbers 2 and 4 have the symbols, then the code will be B and D. Keeping this in mind, search the room, and collect the jars that are labeled with each of the 2 letters in your code.
Place the jars on the Machine to the right of the holding cell that contains the Uranium piece. If you solve this successfully, the left part of the Machine will begin glowing purple. Take it and place it within the claw behind you on the table. It’ll dissolve and give you the Necrospike. With that, lockpick the holding cell with the second Uranium piece, and once it’s unlocked, grab it to progress the Totenreich main quest.
Uranium 3: For the third Uranium piece required to progress the Totenreich main quest Easter Egg in Call of Duty: Black Ops 7 Zombies, craft a Glocke Drop Controller with 2,000 Salvage at any of the crafting tables scattered across the map. If you already have the one obtained earlier, use it in an open space, and kill all the zombies that the Controller lifts into the air quickly. The third Uranium piece will drop from the Glocke Drop after it’s done lifting hostiles.
STEP 8: Complete the Claw Machine Minigame
After you have all three pieces of Uranium, use the Wunderbarrage Controller to access the 02 building near the Melee Macchiato. Once inside, interact with the Claw Machine, and begin connecting all the cells (except two), until the arrow above reaches the green bar. Once the arrow is inside the green bar, you’ll acquire the Atomkraft Core for the Totenreich main quest Easter Egg in Call of Duty: Black Ops 7 Zombies.
STEP 9: Charge the Atomkraft Core and Use It
After you’ve obtained the Atomkraft Core, head to Eidskallen Landing and place it on top of the wooden pallet near the Quick Revive Machine. Then, go inside Lief’s Boat Repair and interact with the main power switch to begin charging it. This’ll take 2 minutes, during which you’ll need to clear hordes of hostiles.
Once it’s done, take the Atomkraft Core to the Storm Bridge near Tyr’s Shoulder and place it atop the black and yellow drum in the middle of the bridge. Ice Spikes will begin to appear, which you need to avoid. After the Core is placed on the drum, you’ll witness a battle between Tyr and the massive frost giant, Dravakar.
STEP 10: Acquire the Dravakar Shard and the Sunstone
To progress the Totenreich main quest Easter Egg, head towards Tyr’s Foot on the western side of the Storm Bridge and pick up the Dravakar Shard after the battle ends. Head to Bloodheim Hall in Eidskallen Square and insert the Dravakar Shard on the unlit roast pit. Now, either craft a Disciple Injection or find one for free inside the Eidskallen Stave Church, beside Skallen Market.
Return to Bloodheim Hall and use the Jotunn Star Wonder Weapon to light the Dravakar Shard roast pit with purple flames. Let zombies come close, then use the Disciple Injection to turn into a Disciple. Use the Disciple’s Scream to keep rotating the Dravakar Shard, and then use your grab attack to throw zombies into the Shard.
When this section concludes, you’ll be trapped inside the Hall until you defeat the Necropincer mini-boss. Defeat it and the zombies to obtain the Sunstone from the Dravakar Shard, further progressing the Totenreich main quest Easter Egg.
STEP 11: Solve the Rune Dial Puzzle
Head to the Church and input the Sunstone on the wooden pedestal in the centre, then hit it with the Jotunn Star and activate the Rune Dial above the Church. Observe which arrows are pointing to which Rune. You need to light the woods beneath these symbols in order of the arrows, determined by the horizontal line placed within each arrow.
While the Runes are random, deduce the order in the following sequence:
- 1st Rune: Arrow with 1 line
- 2nd Rune: Arrow with 2 lines
- 3rd Rune: Arrow with 3 lines
Now that you know the order of the Runes, explore the map to find the floating rocks with a bonfire and the right Runes on them in order. Charge the Jotunn Star by eliminating hostiles and then use Flame Strike to light the floating rocks in the correct order for the Totenreich main quest Easter Egg.
STEP 12: Defeat Dravakar
Once that’s done, head inside Tyr’s Head, interact with the console, and enter the coordinates to begin the final encounter in the Shadowsmith’s Lair. Defeat Dravakar and the massive hordes of zombies to complete the Totenreich main quest Easter Egg in Call of Duty: Black Ops 7 Zombies.
Call of Duty: Black Ops 7 Zombies Totenreich Main Quest Easter Egg Rewards
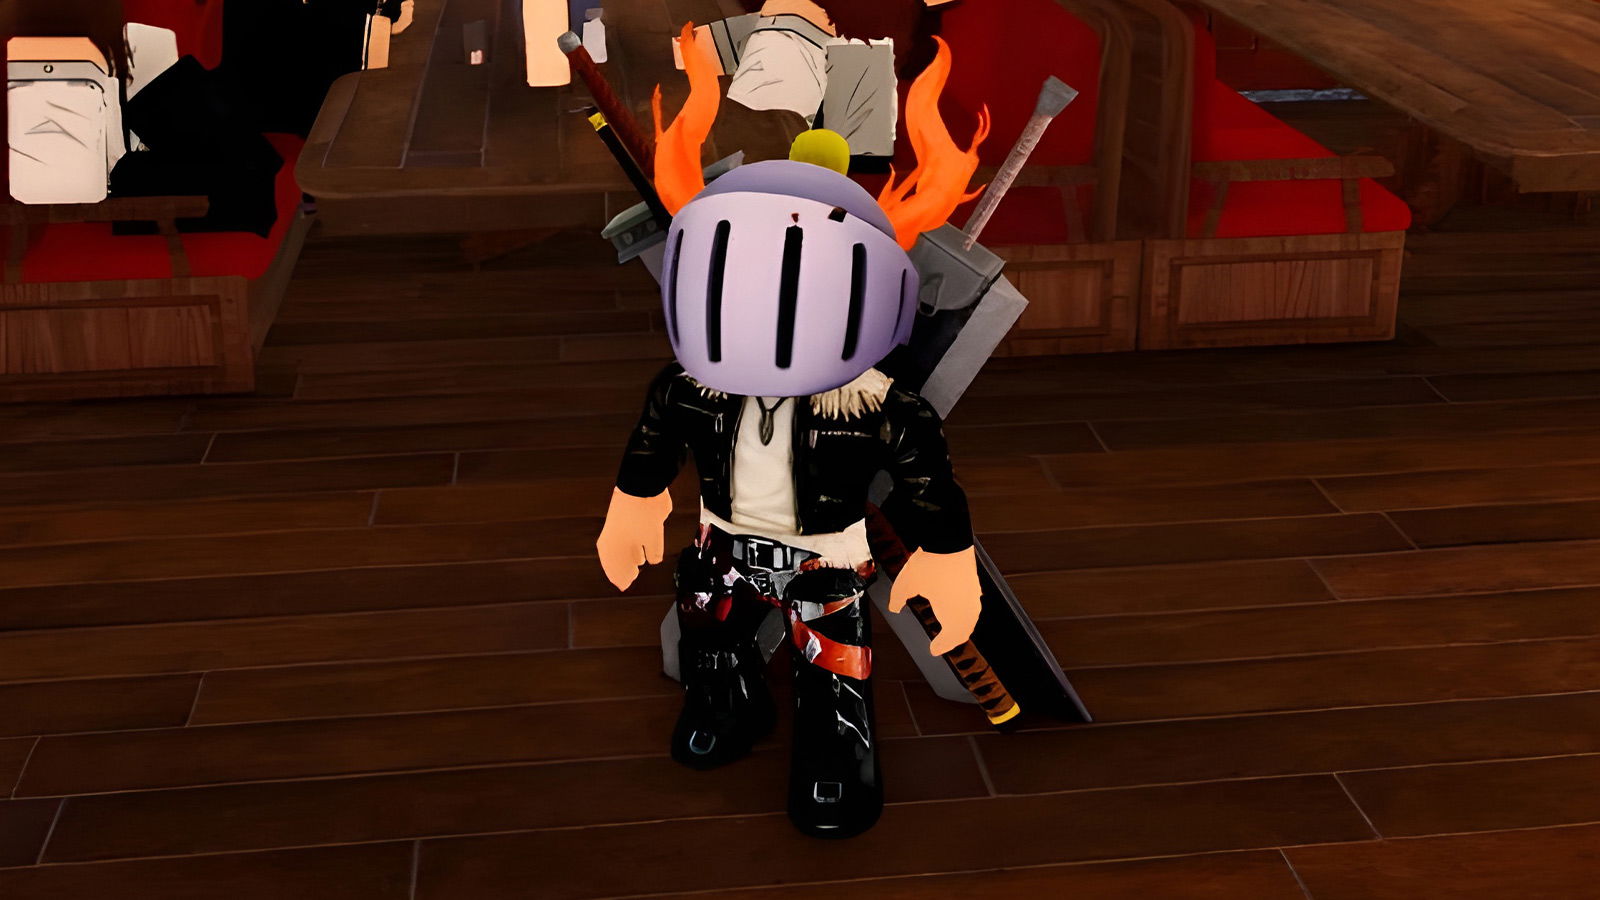
 The grind is an understatement! | Credits: MrDalekJD via YouTube
After completing all the Totenreich main quest Easter Egg steps in Call of Duty: Black Ops 7 Zombies, players will receive the following rewards:
- ‘Ambition’ Richtofen Operator Skin
- Totenreich Calling Card
- 10,000 XP
Overall, the Totenreich main quest Easter Egg is a grind, and you’ll need to invest at least an hour if you want to complete one of the hardest challenges in the game in one sitting.
| Game | Call of Duty: Black Ops 7 |
| Developer | Treyarch, Raven Software |
| Release Date | November 14, 2025 |
| Platforms | PS4, PS5, Xbox One, Xbox Series X|S, and PC |
So, did you complete the Totenreich main quest Easter Egg in Call of Duty: Black Ops 7 Zombies yet? Let us know your thoughts and opinions on it in the comments section below.


/https%3A%2F%2Fsportsmole-media-prod.s3.gra.io.cloud.ovh.net%2Fuploads%2F2026%2F05%2Fchamp-69fa166311171530187348.jpg)
 Bengali (BD) ·
  English (US) ·