.png)
 2 days ago
8
2 days ago
8

With Arrowhead Game Studios working hard to put Helldivers 2 back on the map, many players may be returning to the game in the near future, needing to brush up on their Helldiving skills in order to maintain their edge in the game.
Stratagems form a crucial part of any team’s strategy in the game, with their utility ranging from devastating weaponry to support Stratagems that can be very useful in navigating difficult terrain.
In Helldivers 2 all Stratagem Codes are worth knowing about considering players might want to deploy them in a hurry and having to look them up in the heat of battle can be the difference between victory and defeat.
Look no further than our guide to help you know the codes to every Supply, Mission, Defensive, and Offensive Stratagem in the game.
Mission Stratagems
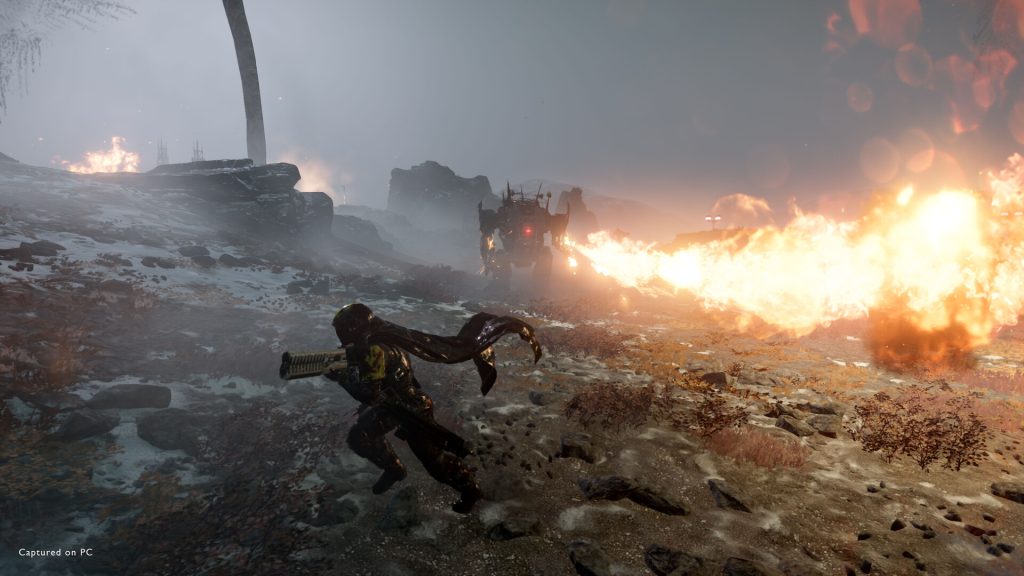
 Helldivers 2’s Stratagems are a fine addition to any loadout. Image Credit: Arrowhead Game Studios
These are handy when there are objectives during missions that require their use and are generally granted to you as part of your starting loadout to be activated at a specific time.
- Reinforce – Up, Down, Right, Left, Up
- SOS Beacon – Up, Down, Right, Up
- Resupply – Down, Down, Up, Right
- NUX-223 Hellbomb – Down, Up, Left, Down, Up, Right, Down, Up
- SSSD Delivery – Down, Down, Down, Up, Up
- Seismic Probe – Up, Up, Left, Right, Down, Down
- Upload Data – Left, Right, Up, Up, Up
- Eagle Rearm – Up, Up, Left, Up, Right
- SEAF Artillery – Right, Up, Up, Down
- Super Earth Flag – Down, Up, Down, Up
Supply Stratagems
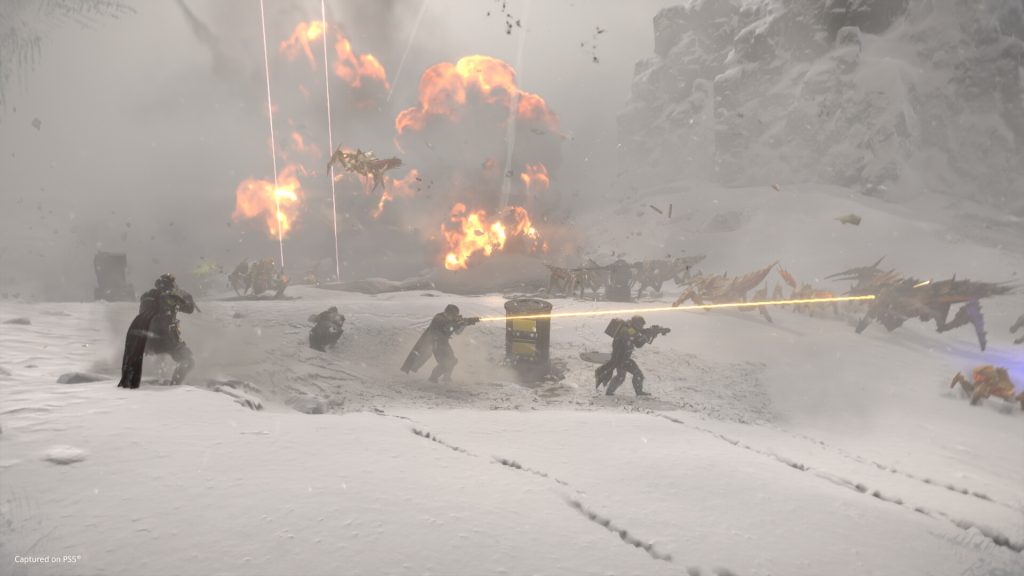
 Effective against a multitude of enemies, Stratagems can make or break a team depending on their use. Image Credit: Arrowhead Game Studios.
These Stratagems include Backpacks, Support Weapons, and Exosuits making them versatile options in the field and a necessary part of any team composition in Helldivers 2.
Backpacks
- LIFT-850 Jump Pack – Down, Up, Up, Down, Up
- B-1 Supply Pack – Down, Left, Down, Up, Up, Up
- AX/LAS-5 “Guard Dog” Rover – Down, Up, Left, Up, Right, Right
- SH-20 Ballistic Shield Backpack – Down, Left, Down, Down, Up, Left
- SH-32 Shield Generator Pack – Down, Up, Left, Right, Left, Right
- AX/AR-23 “Guard Dog” – Down, Up, Left, Up, Right, Down
Support Weapons
- MG-43 Machine Gun – Down, Left, Down, Up, Right
- APW-1 Anti-Materiel Rifle – Down, Left, Right, Up, Down
- M-105 Stalwart – Down, Left, Down, Up, Up, Left
- EAT-17 Expendable Anti-tank – Down, Down, Left, Up, Right
- MLS-4X Commando – Down, Left, Up, Down, Right
- GR-8 Recoilless Rifle – Down, Left, Right, Left, Right
- FLAM-40 Flamethrower – Down, Left, Up, Down, Up
- AC-8 Autocannon – Down, Left, Down, Up, Up, Right
- MG-206 Heavy Machine Gun – Down, Left, Up, Down, Down
- RS-422 Railgun – Down, Right, Up, Down, Left, Right
- FAF-14 Spear Launcher – Down, Down, Up, Down, Down
- GL-21 Grenade Launcher – Down, Left, Up, Left, Down
- LAS-98 Laser Cannon – Down, Left, Down, Up, Left
- ARC-3 Arc Thrower – Down, Right, Down, Up, Left, Left
- LAS-99 Quasar Cannon – Down, Down, Up, Left, Right
- RL-77 Airburst Rocket Launcher – Down, Up, Up, Left, Right
Exosuits
- EXO-45 Patriot Exosuit – Left, Down, Right, Up, Left, Down, Down
- EXO-49 Emancipator Exosuit – Left, Down, Right, Up, Left, Down, Up
Defensive Stratagems
 Using the right Stratagem at the right time is crucial to victory in many of the game’s missions. Image Credit: Arrowhead Game Studios.
These Stratagems are where things start to get interesting in Helldivers 2. They work well against most enemies in the game irrespective of whether your team faces hordes of Terminids or squadrons of Automatons.
Knowing when to deploy them can be a great advantage to your team and it is always a good idea to have one or more teammates carry the right ones based on the mission type you are taking on.
- E/MG-101 HMG Emplacement – Down, Up, Left, Right, Right, Left
- FX-12 Shield Generator Relay – Down, Down, Left, Right, Left, Right
- A/ARC-3 Tesla Tower – Down, Up, Right, Up, Left, Right
- MD-6 Anti-Personnel Minefield – Down, Left, Up, Right
- MD-I4 Incendiary Mines – Down, Left, Left, Down
- MD-17 Anti-Tank Mines – Down, Left, Up, Up
- A/MG-43 Machine Gun Sentry – Down, Up, Right, Right, Up
- A/G-16 Gatling Sentry – Down, Up, Right, Left
- A/M-12 Mortar Sentry – Down, Up, Right, Right, Down
- A/AC-8 Autocannon Sentry – Down, Up, Right, Up, Left, Up
- A/MLS-4X Rocket Sentry – Down, Up, Right, Right, Left
- A/M-23 EMS Mortar Sentry – Down, Up, Right, Down, Right
Offensive Stratagems
 With a lot of utility and firepower, Helldivers 2’s Stratagems form a crucial part of its gameplay. Image Credit: Arrowhead Game Studios.
Perfect for when you need that little bit of extra firepower or for all-out assaults, these Stratagems can change the course of a mission with a single use.
While many Helldivers 2 players would wish to see more of them in action, the ones that are currently in the game are quite effective at eliminating their targets quickly and efficiently.
Orbital Weapons
- Orbital Gatling Barrage – Right, Down, Left, Up, Up
- Orbital Airburst Strike – Right, Right, Right
- Orbital 120MM HE Barrage – Right, Right, Down, Left, Right, Down
- Orbital 380MM HE Barrage – Right, Down, Up, Up, Left, Down, Down
- Orbital Walking Barrage – Right, Down, Right, Down, Right, Down
- Orbital Laser – Right, Down, Up, Right, Down
- Orbital Railcannon Strike – Right, Up, Down, Down, Right
- Orbital Precision Strike – Right, Right, Up
- Orbital Gas Strike – Right, Right, Down, Right
- Orbital EMS Strike – Right, Right, Left, Down
- Orbital Smoke Strike – Right, Right, Down, Up
Eagle Weapons
- Eagle Strafing Run – Up, Right, Right
- Eagle Airstrike – Up, Right, Down, Right
- Eagle Cluster Bomb – Up, Right, Down, Down, Right
- Eagle Napalm Airstrike – Up, Right, Down, Up
- Eagle Smoke Strike – Up, Right, Up, Down
- Eagle 110MM Rocket Pods – Up, Right, Up, Left
- Eagle 500kg Bomb – Up, Right, Down, Down, Down
Each of these Stratagems carries a lot of value depending on the situation you expect to encounter when selecting your loadout for a mission in Helldivers 2. Mixing and matching them among teammates is a great way to ensure victory irrespective of the threat at hand.
We would love to know your favorite Stratagems in the game and how you like to use them in the comments below!


 Bengali (BD) ·
  English (US) ·